Line-level text detection with Surya#
This Jupyter notebook can be launched on-line, opening an interactive environment in a browser window. You can also make a local installation. Choose one of the following options:
In this tutorial we will perform line-level text detection using Surya toolkit and OpenVINO.

line-level text detection#
Model used for line-level text detection based on Segformer. It has the following features: * It is specialized for document OCR. It will likely not work on photos or other images. * It is for printed text, not handwriting. * The model has trained itself to ignore advertisements. * Languages with very different character sets may not work well.
Table of contents:
Installation Instructions#
This is a self-contained example that relies solely on its own code.
We recommend running the notebook in a virtual environment. You only need a Jupyter server to start. For details, please refer to Installation Guide.
Fetch test image#
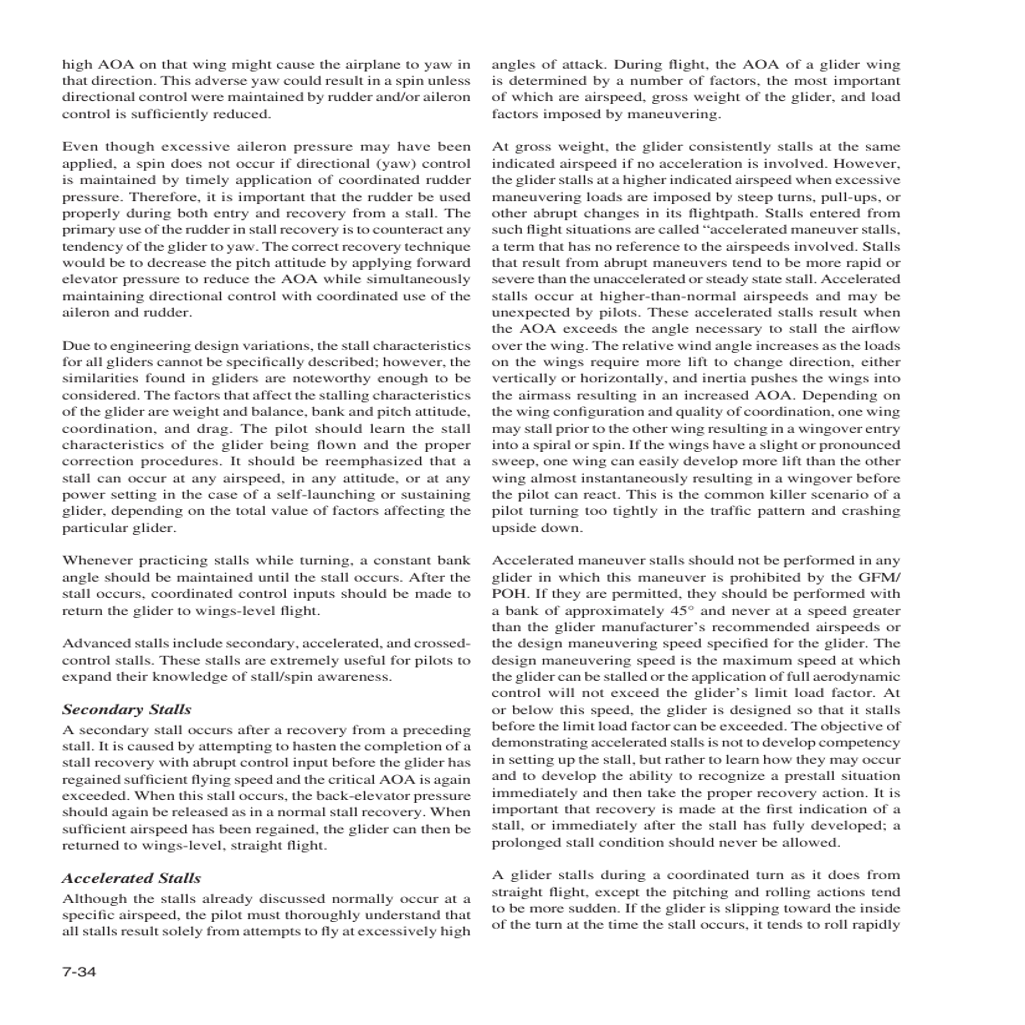
We will use an image from a randomly sampled subset of DocLayNet dataset.
import os

os.environ["GIT_CLONE_PROTECTION_ACTIVE"] = "false"

%pip install -q "openvino>=2024.2.0" "nncf>=2.11.0"
%pip install -q --extra-index-url https://download.pytorch.org/whl/cpu "surya-ocr==0.4.0" torch datasets "gradio>=4.19" Pillow
from datasets import load_dataset


def fetch_image():
    dataset = load_dataset("vikp/doclaynet_bench", split="train", streaming=True)
    return next(iter(dataset))["image"]


test_image = fetch_image()
test_image

Run PyTorch inference#
To perform line-level text detection we will use load_model and
load_processor functions from surya package. We will also use
batch_inference function which performs pre and post processing.
# Predictions visualization function
from PIL import ImageDraw


def visualize_prediction(image, prediction):
    image = image.copy()
    draw = ImageDraw.Draw(image)

    for polygon_box in prediction.bboxes:
        draw.rectangle(polygon_box.bbox, width=1, outline="red")

    display(image)
from surya.detection import batch_text_detection
from surya.model.detection.segformer import load_model, load_processor

model, processor = load_model(), load_processor()

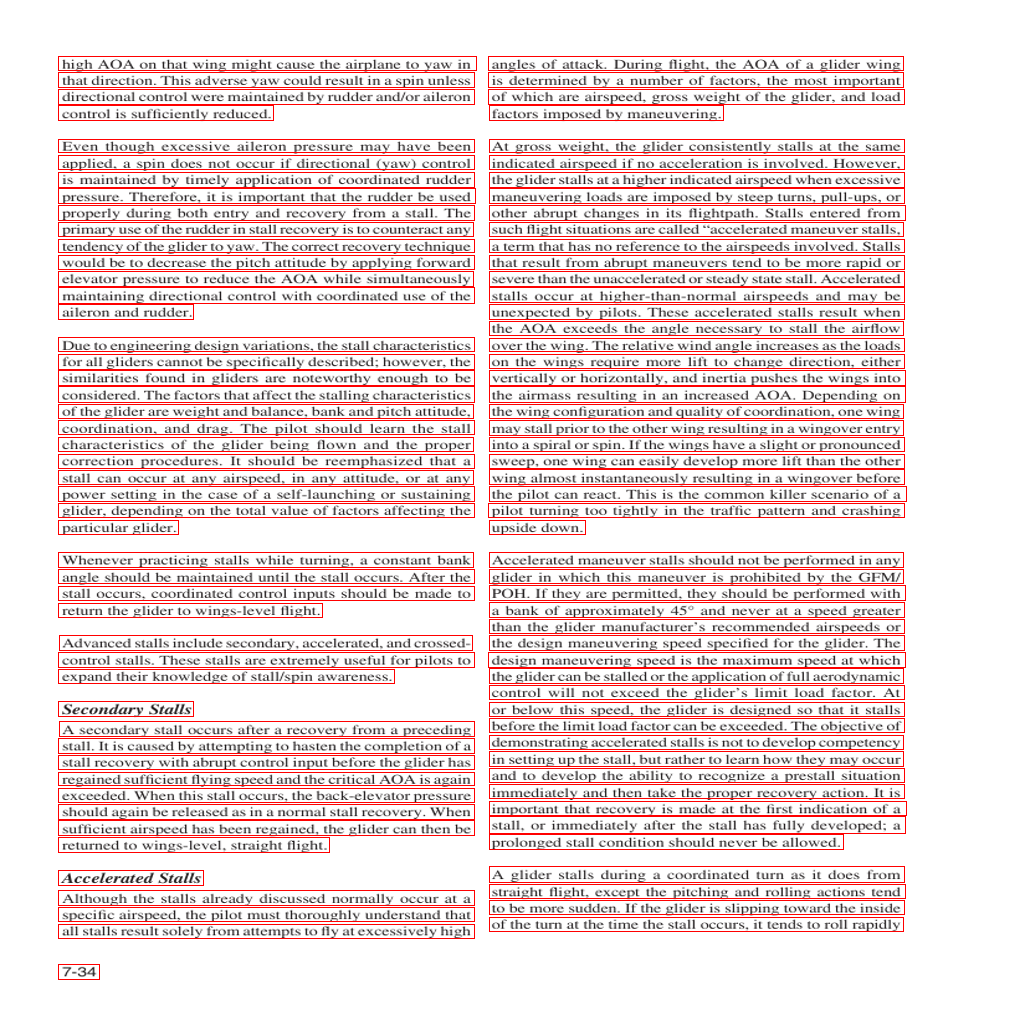
predictions = batch_text_detection([test_image], model, processor)

visualize_prediction(test_image, predictions[0])
/home/ea/work/py311/lib/python3.11/site-packages/transformers/utils/generic.py:441: FutureWarning: torch.utils._pytree._register_pytree_node is deprecated. Please use torch.utils._pytree.register_pytree_node instead.
  _torch_pytree._register_pytree_node(
/home/ea/work/py311/lib/python3.11/site-packages/transformers/utils/generic.py:309: FutureWarning: torch.utils._pytree._register_pytree_node is deprecated. Please use torch.utils._pytree.register_pytree_node instead.
  _torch_pytree._register_pytree_node(
/home/ea/work/py311/lib/python3.11/site-packages/transformers/utils/generic.py:309: FutureWarning: torch.utils._pytree._register_pytree_node is deprecated. Please use torch.utils._pytree.register_pytree_node instead.
  _torch_pytree._register_pytree_node(
/home/ea/work/py311/lib/python3.11/site-packages/huggingface_hub/file_download.py:1132: FutureWarning: resume_download is deprecated and will be removed in version 1.0.0. Downloads always resume when possible. If you want to force a new download, use force_download=True.
  warnings.warn(
config.json: 0%| | 0.00/1.18k [00:00<?, ?B/s]
model.safetensors: 0%| | 0.00/120M [00:00<?, ?B/s]
Loading detection model vikp/surya_det2 on device cpu with dtype torch.float32
preprocessor_config.json: 0%| | 0.00/430 [00:00<?, ?B/s]
Detecting bboxes: 100%|█████████████████████████████████████████████████████████████████████████████████████████████████████████████████████████████████████████████████████████████████████████████████████████████████████████████████████████████████| 1/1 [00:03<00:00, 3.55s/it]

Convert model to OpenVINO Intermediate Representation (IR) format#
For best results with OpenVINO, it is recommended to convert the model
to OpenVINO IR format. OpenVINO supports PyTorch via Model conversion
API. To convert the PyTorch model to OpenVINO IR format we will use
ov.convert_model of model conversion
API.
The ov.convert_model Python function returns an OpenVINO Model
object ready to load on the device and start making predictions.
ov.convert_model requires a sample of original model input. We will
use image pre-processing from surya package to prepare example
input.
# Build example input
from surya.input.processing import prepare_image
import torch


def build_example_input(image, processor):
    input_values = prepare_image(image.convert("RGB"), processor)

    return {"pixel_values": torch.unsqueeze(input_values, 0)}


example_input = build_example_input(test_image, processor)
# Convert model
import openvino as ov
from pathlib import Path

ov_model = ov.convert_model(model, example_input=example_input)

FP_MODEL_PATH = Path("model.xml")
INT8_MODEL_PATH = Path("int8_model.xml")

ov.save_model(ov_model, FP_MODEL_PATH)
Run OpenVINO model#
Select device from dropdown list for running inference using OpenVINO
import requests

r = requests.get(
    url="https://raw.githubusercontent.com/openvinotoolkit/openvino_notebooks/latest/utils/notebook_utils.py",
)
open("notebook_utils.py", "w").write(r.text)

from notebook_utils import device_widget

device = device_widget()

device
Dropdown(description='Device:', index=1, options=('CPU', 'AUTO'), value='AUTO')
We want to reuse model results postprocessing implemented in
batch_inference function. In order to do that we implement simple
wrappers for OpenVINO model with interface required by
batch_inference function.
core = ov.Core()

# Compile OpenVINO model for loading on device
compiled_ov_model = core.compile_model(ov_model, device.value)


class OVModelWrapperResult:
    def __init__(self, logits):
        self.logits = logits


class OVModelWrapper:
    dtype = torch.float32
    device = model.device
    config = model.config

    def __init__(self, ov_model) -> None:
        self.ov_model = ov_model

    def __call__(self, **kwargs):
        # run inference on preprocessed data and get image-text similarity score
        logits = self.ov_model(kwargs)[0]
        return OVModelWrapperResult(torch.from_numpy(logits))


ov_model_wrapper = OVModelWrapper(compiled_ov_model)

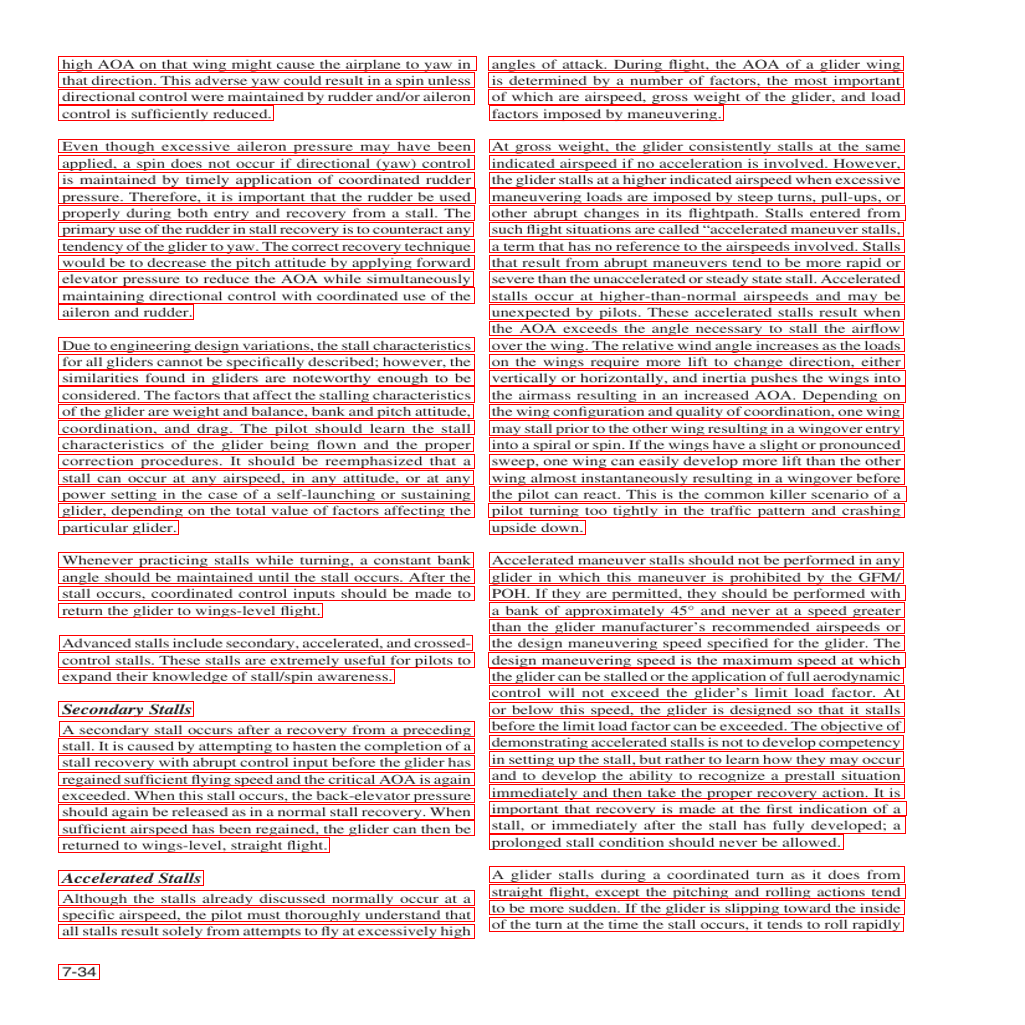
ov_predictions = batch_text_detection([test_image], ov_model_wrapper, processor)

visualize_prediction(test_image, ov_predictions[0])
Detecting bboxes: 100%|█████████████████████████████████████████████████████████████████████████████████████████████████████████████████████████████████████████████████████████████████████████████████████████████████████████████████████████████████| 1/1 [00:01<00:00, 1.04s/it]

Apply post-training quantization using NNCF#
NNCF enables post-training quantization by adding the quantization layers into the model graph and then using a subset of the training dataset to initialize the parameters of these additional quantization layers. The framework is designed so that modifications to your original training code are minor. Quantization is the simplest scenario and requires a few modifications.
The optimization process contains the following steps:
Create a dataset for quantization.
Run
nncf.quantizefor getting a quantized model.
Please select below whether you would like to run quantization to improve model inference speed.
NOTE: Quantization is time and memory consuming operation. Running quantization code below may take a long time.
from notebook_utils import quantization_widget

to_quantize = quantization_widget()

to_quantize
Checkbox(value=True, description='Quantization')
import requests

r = requests.get(
    url="https://raw.githubusercontent.com/openvinotoolkit/openvino_notebooks/latest/utils/skip_kernel_extension.py",
)
open("skip_kernel_extension.py", "w").write(r.text)

%load_ext skip_kernel_extension
Free resources before quantization.
import gc

del model
del ov_model
del compiled_ov_model
del ov_model_wrapper

gc.collect();
Prepare dataset#
We create calibration dataset with randomly sampled set of images from DocLayNet.
%%skip not $to_quantize.value

from surya.input.processing import split_image


def prepare_calibration_dataset(size=1, buffer_size=1):

    def collate_fn(data):
        image = data[0]["image"].convert("RGB")
        image_splits, _ = split_image(image, processor)
        image_splits = prepare_image(image_splits[0], processor)

        return image_splits

    dataset = load_dataset("vikp/doclaynet_bench", split="train", streaming=True)
    train_dataset = dataset.shuffle(seed=42, buffer_size=buffer_size)
    dataloader = torch.utils.data.DataLoader(train_dataset, collate_fn=collate_fn, batch_size=1)

    def prepare_calibration_data(dataloader, size):
        data = []
        counter = 0
        for batch in dataloader:
            if counter == size:
                break
            counter += 1
            batch = batch.to(torch.float32)
            batch = batch.to("cpu")
            data.append({"pixel_values": torch.stack([batch])})
        return data

    return prepare_calibration_data(dataloader, size)


calibration_dataset = prepare_calibration_dataset()
Quantize model#
Create a quantized model from the FP16 model.
%%skip not $to_quantize.value

import nncf

quantized_ov_model = nncf.quantize(
    model=core.read_model(FP_MODEL_PATH),
    calibration_dataset=nncf.Dataset(calibration_dataset),
    advanced_parameters=nncf.AdvancedQuantizationParameters(
        activations_quantization_params=nncf.quantization.advanced_parameters.QuantizationParameters(per_channel=False)
    ),
)

ov.save_model(quantized_ov_model, INT8_MODEL_PATH)
INFO:nncf:NNCF initialized successfully. Supported frameworks detected: torch, onnx, openvino
Output()
Output()
Run quantized OpenVINO model#
Now we ready to detect lines with int8 OpenVINO model.
%%skip not $to_quantize.value

# Compile OpenVINO model for loading on device
compiled_int8_ov_model = core.compile_model(quantized_ov_model, device.value)

int8_ov_model_wrapper = OVModelWrapper(compiled_int8_ov_model)

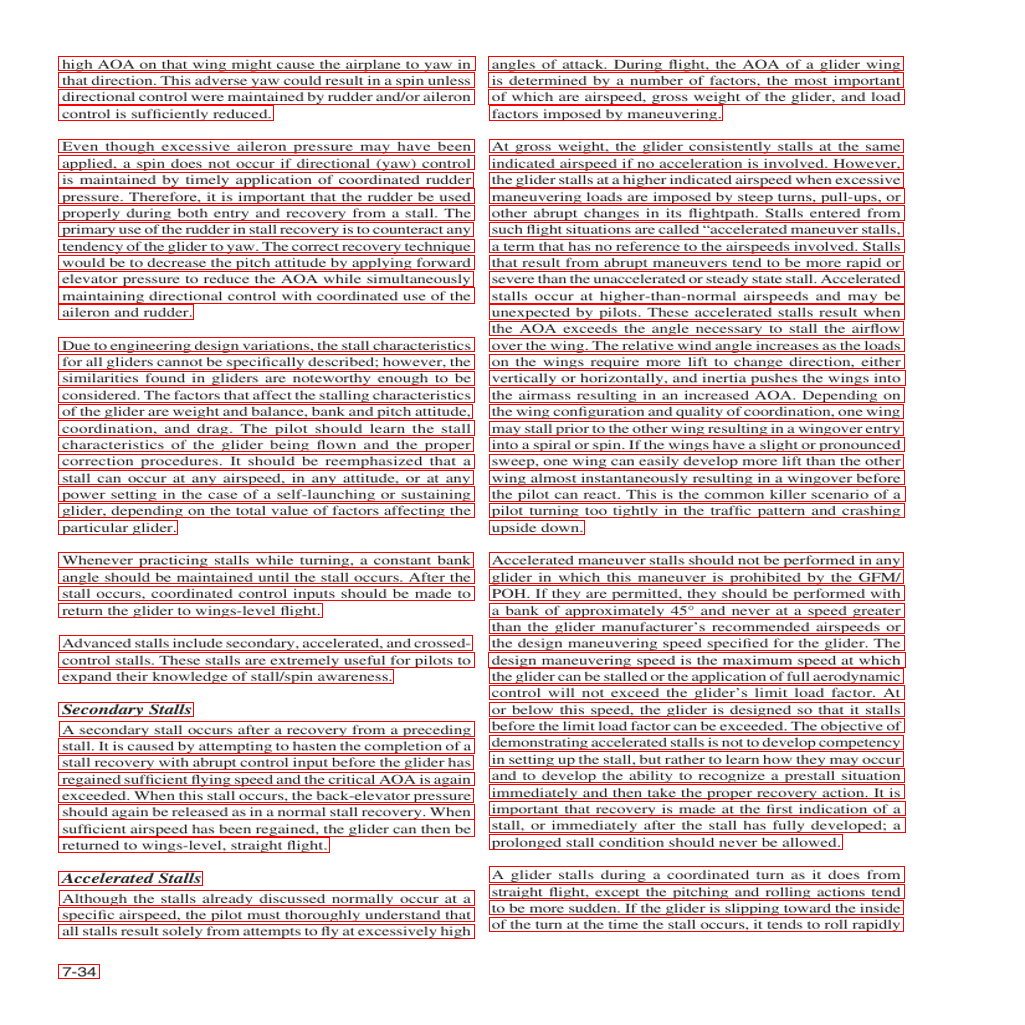
int8_ov_predictions = batch_text_detection([test_image], int8_ov_model_wrapper, processor)

visualize_prediction(test_image, int8_ov_predictions[0])
Detecting bboxes: 100%|█████████████████████████████████████████████████████████████████████████████████████████████████████████████████████████████████████████████████████████████████████████████████████████████████████████████████████████████████| 1/1 [00:00<00:00, 1.10it/s]

Interactive inference#
Now, it is your turn! Feel free to upload an image, using the file upload window.
Below you can select which model to run: original or quantized.
from pathlib import Path
import ipywidgets as widgets

quantized_model_present = Path(INT8_MODEL_PATH).exists()

use_quantized_model = widgets.Checkbox(
    value=True if quantized_model_present else False,
    description="Use quantized model",
    disabled=not quantized_model_present,
)

use_quantized_model
Checkbox(value=True, description='Use quantized model')
import gradio as gr

compiled_model = ov.compile_model(INT8_MODEL_PATH if use_quantized_model.value else FP_MODEL_PATH, device.value)


def predict(image):
    predictions = batch_text_detection([image], OVModelWrapper(compiled_model), processor)

    image = image.copy()
    draw = ImageDraw.Draw(image)

    for polygon_box in predictions[0].bboxes:
        draw.rectangle(polygon_box.bbox, width=1, outline="red")

    return image


demo = gr.Interface(
    predict,
    gr.Image(label="Image", type="pil", format="pil"),
    gr.Image(label="Result"),
    examples=[test_image],
)
try:
    demo.launch(debug=True, height=1000)
except Exception:
    demo.launch(share=True, debug=True, height=1000)
# If you are launching remotely, specify server_name and server_port
# EXAMPLE: `demo.launch(server_name='your server name', server_port='server port in int')`
# To learn more please refer to the Gradio docs: https://gradio.app/docs/
Running on local URL:  http://127.0.0.1:7860

To create a public link, set share=True in launch().
# please uncomment and run this cell for stopping gradio interface
# demo.close()