NOTE: Accuracy measurements are not available for configurations that use generic models, OpenVINO™ models, or generated datasets.
Once you select a model and a dataset, and run a baseline inference, the Projects page appears. To measure accuracy of a model, click the gear sign:

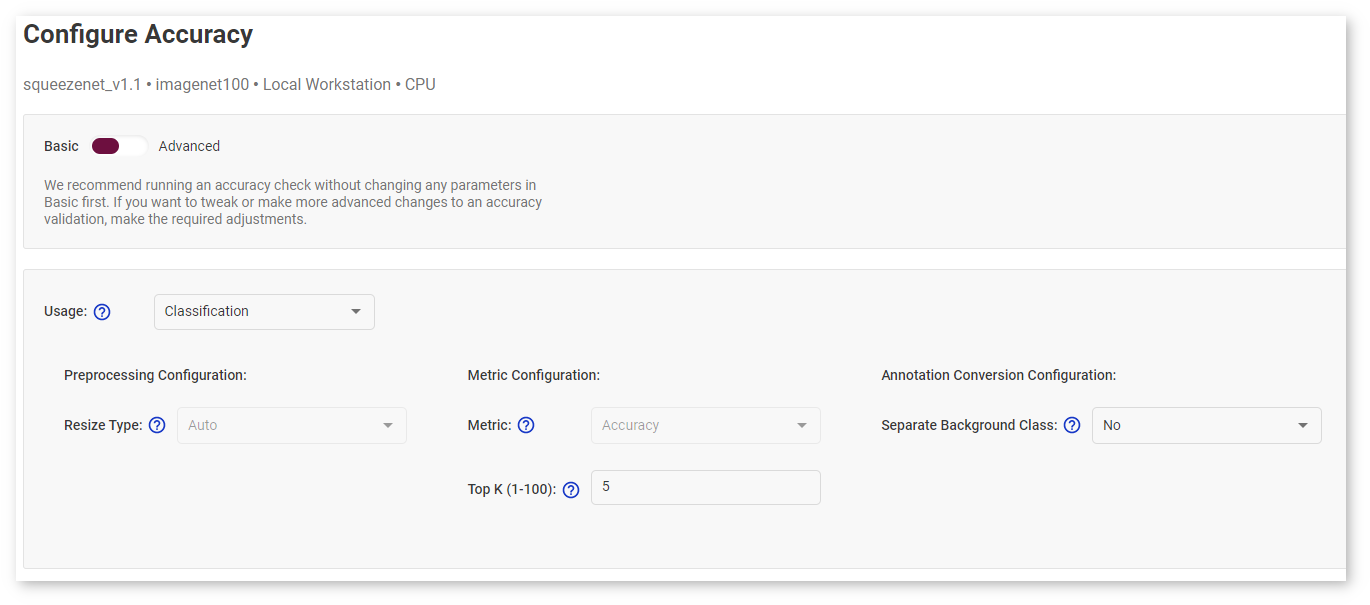
The Configure Accuracy window opens. The DL Workbench has two modes of accuracy settings, Basic and Advanced. In Basic mode, most configurations are predefined based on default settings. Run an accuracy check without changing any parameters in Basic first.
Use Advanced mode in the following cases:
Specify the settings as described in Configure Accuracy Settings, and click Run Accuracy Check.
The measurement process takes a few seconds, and the accuracy number appears:

TIP: A relatively low accuracy estimation can be due to incorrectly selected options in the Advanced Configuration form in the Configure Accuracy Settings step. To remeasure accuracy, click the gear sign and fill in the form again.
NOTE: For details about accuracy measurement mechanism, see the Accuracy Checker documentation.
Switch to Advanced under the page title: 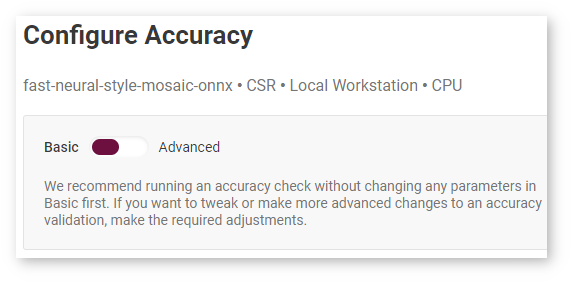
When using Advanced mode, you need to manually create a valid Accuracy Checker configuration file in the built-in code editor. The file should contain all necessary information for accuracy measurement, such as data preprocessing or metric settings. You must follow the YAML syntax. For examples, see Accuracy Checker configuration files for Open Model Zoo (OMZ) models.
Follow the steps below to edit the Accuracy Checker configuration file:
Step 1. Find the closest model from the OMZ in terms of usage, topology, number of inputs, and type of data required. For this, open a new tab with the DL Workbench and go to the Import Model page. View models descriptions by clicking Details. 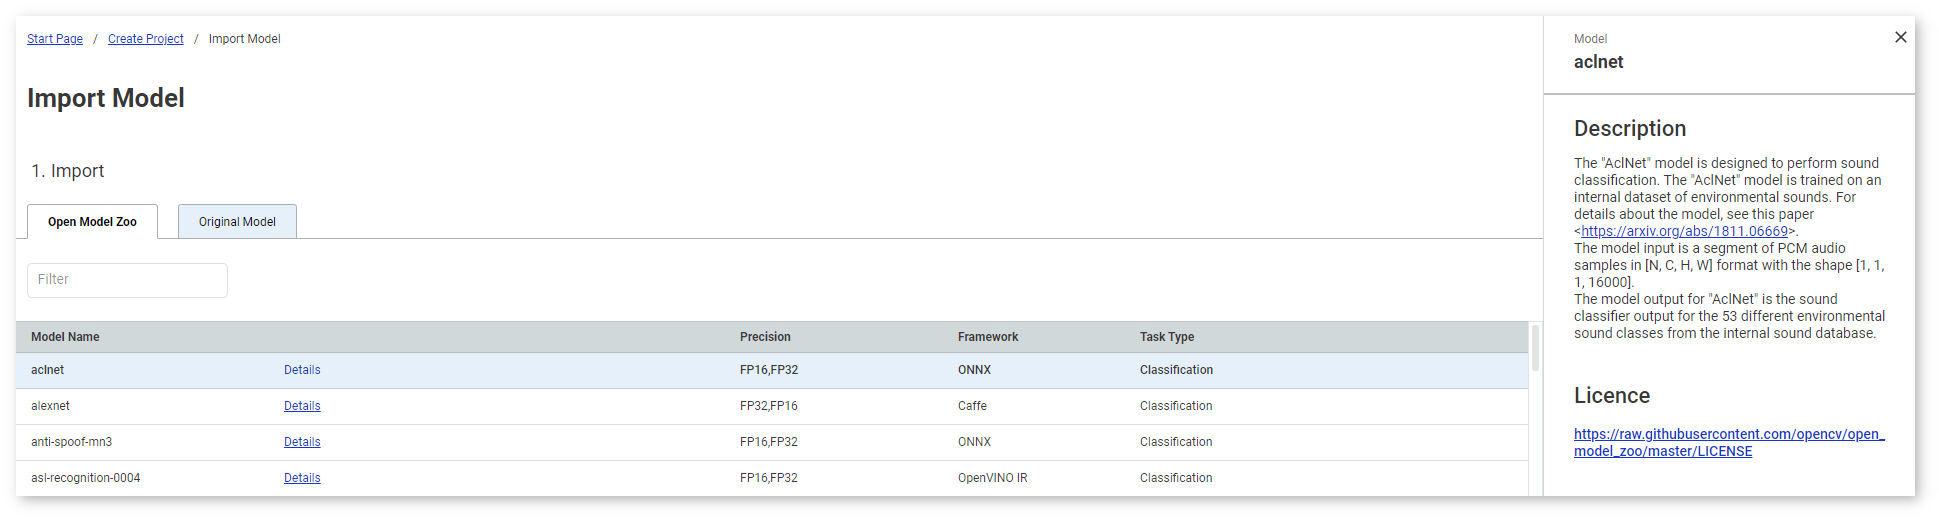
Step 2. Obtain the accuracy configuration for this similar model from the OMZ. This can be done in two ways:
Step 3. Copy the contents of the OMZ model configuration and paste them into the code editor. Do not override the original content of the editor.
In the example below, the configuration of the OMZ squeezenet1.0 model configuration is pasted on the line 26, one line after the configuration of the original squeezenet_v1.1 model (lines 1-24): 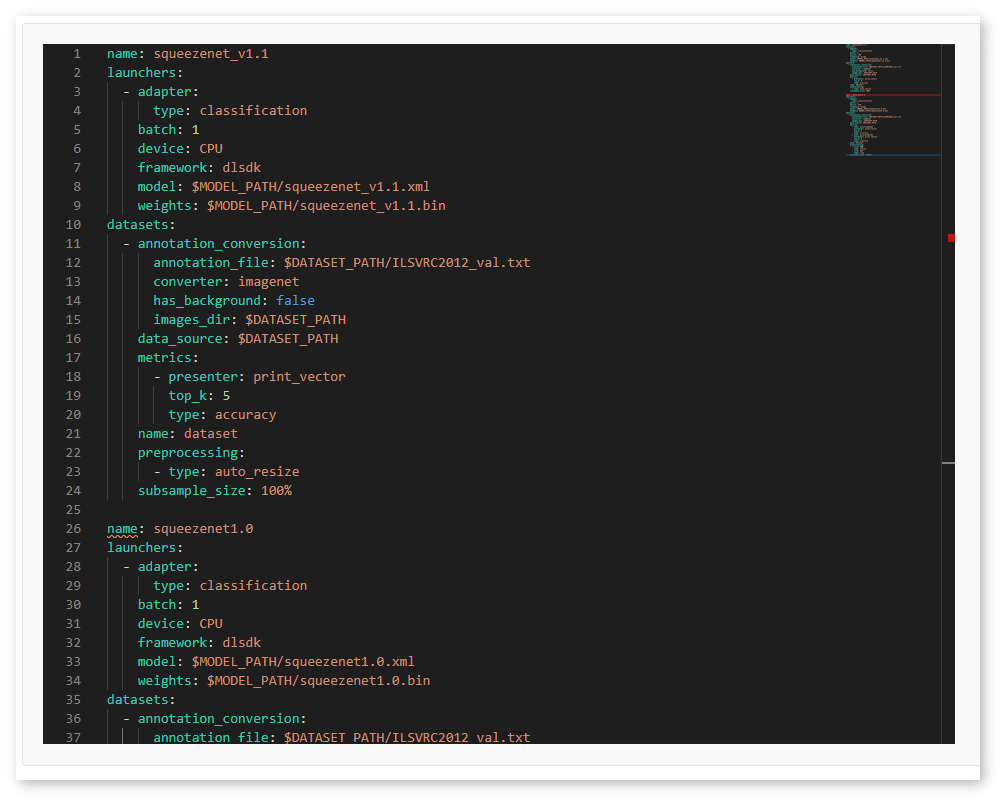
Step 4. In the copied configuration of an OMZ model, replace the model name, paths to the model files, and dataset information with the values you have in the original configuration. Adapt other parameters if needed.
In the example below, the configuration of the OMZ squeezenet1.0 model is adapted to the original squeezenet_v1.1 model by changing the model name (line 26) and paths to the model files (lines 33-34). The dataset information is not changed because the same dataset is used. 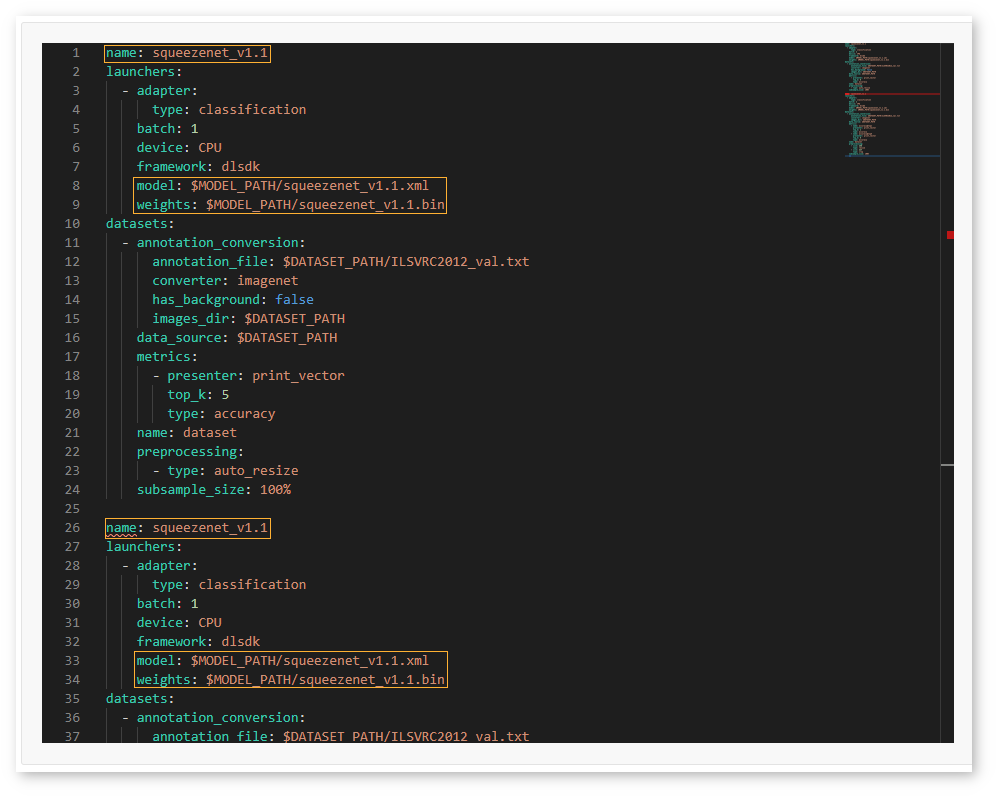
Step 5. Once you have adapted the copied configuration, erase the original configuration and click Run Accuracy Check. 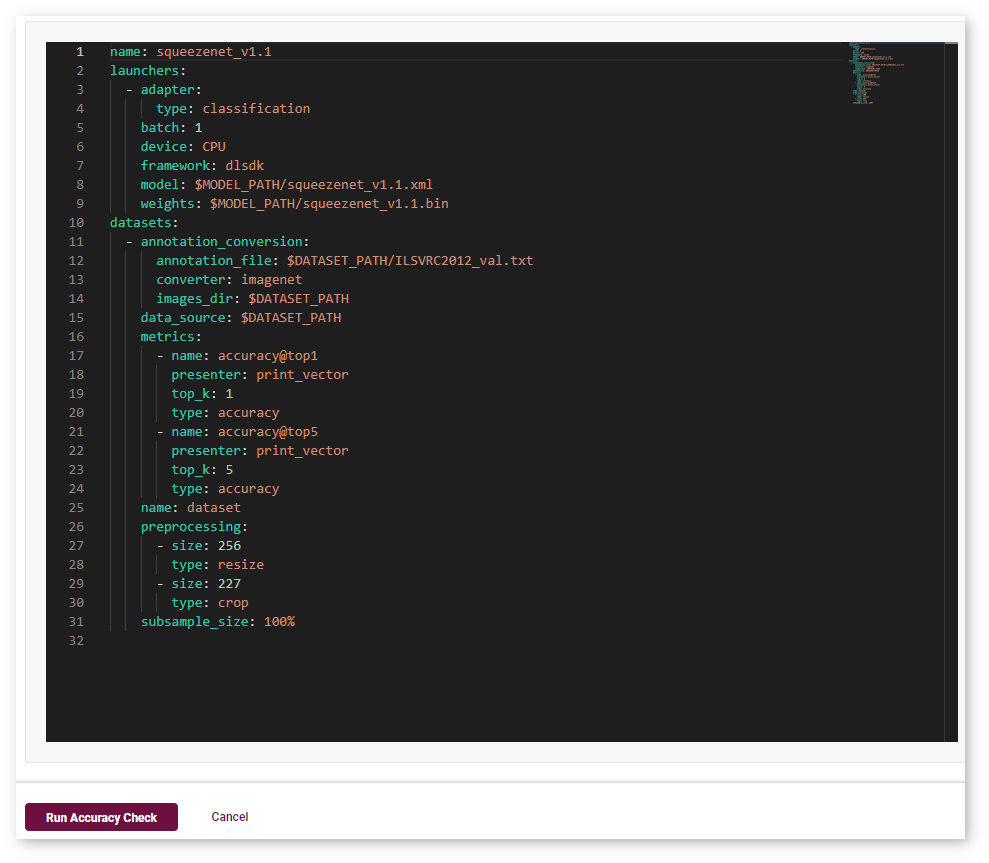
Step 6. Click Run Accuracy Check.
The measurement process takes a few seconds, and the accuracy number appears:
The DL Workbench instantly validates the configuration inside the editor. If something is incorrect, the tool underlines the problematic area and displays the issue on the right to the editor: 
When everything is correct, the tool displays the Valid Configuration message on the right. This means you can run the accuracy check. 
Below are the rules that help you create a valid configuration file:
dlsdk.classification adapter for a COCO dataset, which is used for other tasks.$MODEL_PATH or $DATASET_PATH prefix. The prefixes are pointing to the model and dataset directories inside the DL Workbench. You are required to specify only a filename after a prefix, for example, $MODEL_PATH/my_model.xml.