Obtain Models
Note
If you have imported a model before, do not import it again. You can select it from the list of available models.
You can import original and the Open Model Zoo models. Click Explore 100+ OMZ Models on the Start Page or Import Model on the Create Project page.

To import a model, follow the steps below:
Convert the model to Intermediate Representation (IR) — only for non-OpenVINO™ models
Note
To learn about the conversion logic, see the Model Optimizer documentation.
Once you import a model, you are directed back to the Create Project page, where you can select the imported model and proceed to select a dataset.
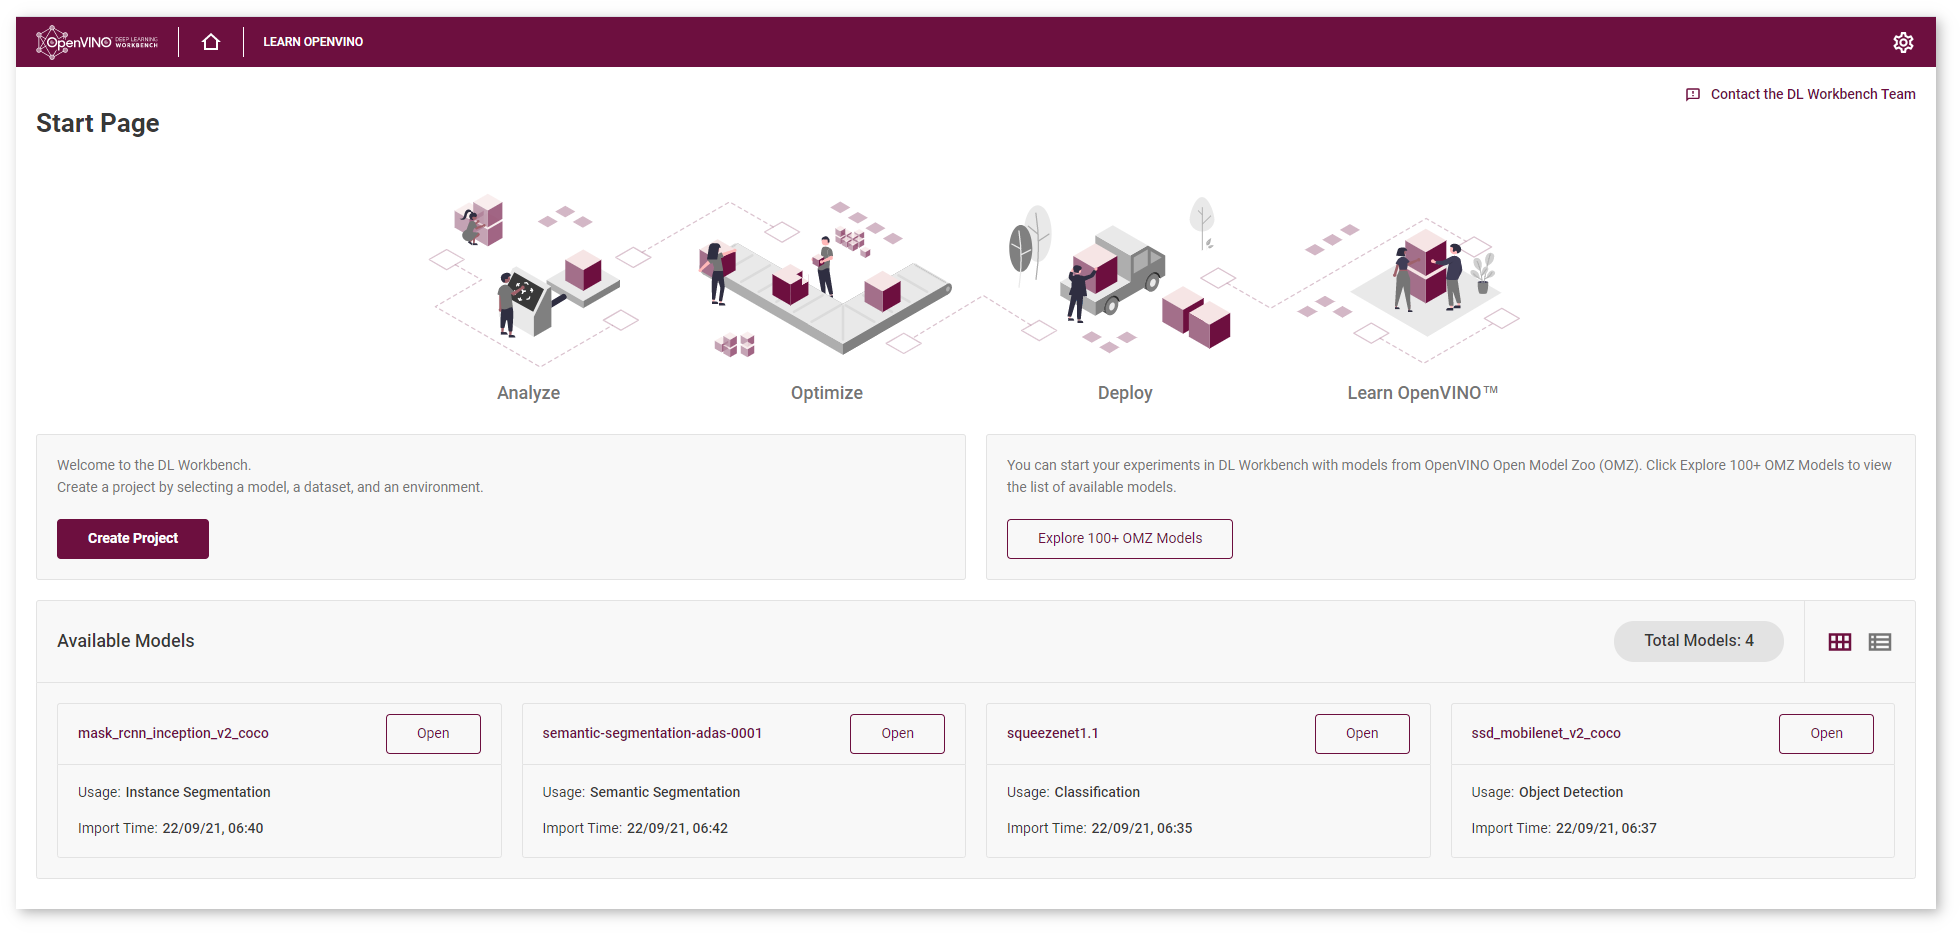
You can find all imported models on the Start Page :
Supported Frameworks
DL Workbench supports the following frameworks whether uploaded from a local folder or imported from the Open Model Zoo.
Framework |
Original Models |
Open Model Zoo |
|---|---|---|
OpenVINO™ |
✔ |
✔ |
Caffe* |
✔ |
✔ |
MXNet* |
✔ |
✔ |
ONNX* |
✔ |
✔ |
TensorFlow* |
✔ |
✔ |
PyTorch* |
✔ |
Use Models from Open Model Zoo
Note
Internet connection is required for this option. If you are behind a corporate proxy, set environment variables during the Installation step.
To use a model from the Open Model Zoo, go to the Open Model Zoo tab. Select a model and click Import. You can search the models by the Model Name, Precision, Framework and Task Type:

Tip
Precision of models from the Open Model Zoo can be changed in the Conversion step.
Once you click Import, the Convert Model to IR section opens.
Note
To learn about the import process, see the Model Downloader documentation.
Upload Original Models
In the Original Model tab, you can upload original models stored in files on your operating system. The uploading process depends on the framework of your model.
Upload OpenVINO™ (IR) Models
To import an OpenVINO™ model, select the framework in the drop-down list, upload an .xml file and a .bin file, provide the name, and click Import. Since the model is already in the IR format, select the imported model and proceed to select a dataset.
Upload Caffe* Models
Note
To learn more about Caffe* models, refer to the article.
To import a Caffe model, select the framework in the drop-down list, upload an [.prototxt] file and a .caffemodel file, and provide the name.
Once you click Import, the tool analyzes your model and opens the Convert Model to IR form with prepopulated conversion settings fields, which you can change.
Upload MXNet* Models
Note
To learn more about MXNet models, refer to the article.
To import an MXNet model, select the framework in the drop-down list, upload a .json file and a .params file, and provide the name.
Once you click Import, the tool analyzes your model and opens the Convert Model to IR form with prepopulated conversion settings fields, which you can change.
Upload ONNX* Models
Note
To learn more about ONNX models, refer to the article.
To import an ONNX model, select the framework in the drop-down list, upload an .onnx file, and provide the name.
Once you click Import, the tool analyzes your model and opens the Convert Model to IR form with prepopulated conversion settings fields, which you can change.
Upload TensorFlow* Models
TensorFlow 1.x Models
TensorFlow 1.x models can be frozen and non-frozen. Frozen is an official and recommended format for imported models. To learn about the difference between frozen and non-frozen TensorFlow models, see Freeze Tensorflow models and serve on web.
Frozen Models
To import a TensorFlow 1.x frozen model:
Select the framework in the drop-down list.
Choose the TensorFlow 1.x version.
Upload a
.pbor.pbtxtfile.Make sure the Is Frozen Model box is checked.
Provide the name.
You can also check the Use TensorFlow Object Detection API box and upload a pipeline configuration file.
Once you click Import, the tool analyzes your model and opens the Convert Model to IR form with prepopulated conversion settings fields, which you can change.
Non-Frozen Models
To import a TensorFlow 1.x non-frozen model:
Select the framework in the drop-down list.
Choose the TensorFlow 1.x version.
Uncheck the Is Frozen Model box.
Select input files type: Checkpoint or MetaGraph.
If you select the Checkpoint file type, provide the following files:
.pbor.pbtxtfile.checkpointfile
If you select the MetaGraph file type, provide the following files:
.metafile.indexfiledata file
Provide the name.
Once you click Import, the tool analyzes your model and opens the Convert Model to IR form with prepopulated conversion settings fields, which you can change.
TensorFlow 2.0 Models
TensorFlow 2.0 models can be in SavedModel and Keras H5 format:
SavedModel is an official and recommended format for imported models.
Keras H5 format is available for Keras models with a TensorFlow 2 backend and not with a Keras backend. Model Optimizer does not support Keras H5 models, so the DL Workbench converts Keras H5 models to the Saved Model format and then to the OpenVINO™ format with the Model Optimizer.
SavedModel Format
To import a TensorFlow 2.0 model in SavedModel format:
Select the framework in the drop-down list.
Choose the TensorFlow 2.x version.
Upload a folder with your model. The folder should include:
.pb file with the model
variablessubdirectoryassetssubdirectory
Provide the name.
Once you click Import, the tool analyzes your model and opens the Convert Model to IR form with prepopulated conversion settings fields, which you can change.
Keras H5 Format
To import a TensorFlow 2.0 model in Keras format:
Select the framework in the drop-down list.
Choose the TensorFlow 2.x version.
Check the Is Keras Model box.
Upload an .h5 file with your model.
Provide the name.
Once you click Import, the tool analyzes your model and opens the Convert Model to IR form with prepopulated conversion settings fields, which you can change.
Convert Models to Intermediate Representation (IR)
You are automatically directed to the Convert Model to IR step after uploading a model. Besides general framework-agnostic parameters, you might need to specify framework-specific or advanced framework-agnostic parameters.
Note
For details on converting process, refer to Converting a Model to Intermediate Representation.
General Framework-Agnostic Parameters
Refer to the table below to learn about parameters shared by all frameworks.
Parameter |
Values |
Description |
|---|---|---|
Batch number |
1-256 |
How many images at a time are propagated to a neural network |
Precision |
FP16 or FP32 |
Precision of a converted model |
Original color space |
RGB or BGR |
Color space of an original model |
Framework-Specific Parameters
When importing TensorFlow* models, provide an additional pipeline configuration file and choose a model conversion configuration file. For details, refer to Import Frozen TensorFlow SSD MobileNet v2 COCO Tutorial.
Inputs
Note
Input layers are required for MXNet* models.
You can use default input layers or cut a model by specifying the layers you want to consider as input ones. To change default input layers, provide information about the layers:
Tip
To add more than one layer, click the Add Input button. To remove layers, click on the red remove sign next to the name of a layer.
Name
Input shape. To add or remove dimensions, click Add Dimension or the purple minus sign respectively.
Optionally:
Use means: mean values to be used for the input image per channel
Use scales: scale values to be used for the input image per channel
Note
To learn more about means and scales, see Converting a Model Using General Conversion Parameters.
Advanced Framework-Agnostic Parameters
You can use default output layers or cut a model by specifying the layers you want to consider as output ones. To change default input layers, check the Override Outputs box and provide the name of a layer.
Tip
To add more than one layer, click the Add Output button. To remove layers, click on the red remove sign next to the name of a layer.

To find out the names of layers, view text files with a model in an editor or visualize the model in the Netron neural network viewer.
Note
For more information on preprocessing parameters, refer to Converting a Model Using General Conversion Parameters.
Convert Original Caffe* or ONNX* Model
To convert a Caffe* or an ONNX* model, provide the following information in the General Parameters section :
Batch
Precision
Color space
You can also use default values by checking the box in the Advanced Parameters section.
Note
For details on converting Caffe and ONNX models, refer to Converting a Caffe* Model and Converting an ONNX* Model.
Once you click Convert, you are directed back to the Create Project page, where you can select the imported model and proceed to select a dataset.
Convert Original MXNet* Model
To convert an MXNet model, provide the following information in the General Parameters section :
Batch
Precision
Color space
In the same section, specify framework-specific parameters by checking the boxes:
Legacy MXNet Model: Enables MXNet loader to make a model compatible with the latest MXNet version. Check only if your model was trained with MXNet version lower than 1.0.0.
SSD GluonCV: Enables transformation for converting the GluonCV SSD topologies. Check only if your topology is one of SSD GluonCV topologies.
Checking the Use Default Values box in the Advanced Parameters section allows you to choose to use inputs and/or outputs.
Once you click Convert, you are directed back to the Create Project page, where you can select the imported model and proceed to select a dataset.
Note
For details on converting MXNet models, refer to Converting an MXNet* Model.
Convert Original TensorFlow* Model
To convert a TensorFlow model, provide the following information in the General Parameters section :
Batch
Precision
Color space
Checking the Use Default Values box in the Advanced Parameters section allows you to choose to use inputs and/or outputs.
Once you click Convert, you are directed back to the Create Project page, where you can select the imported model and proceed to select a dataset.
Note
For details on converting TensorFlow models, refer to Converting a TensorFlow* Model.
Convert Model from Open Model Zoo
To convert a model from the Open Model Zoo, provide the precision in the General Parameters section.
Once you click Convert, you are directed back to the Create Project page, where you can select the imported model and proceed to select a dataset.
Analyze Models
The Model Analyzer is used for generating estimated performance information on neural networks. The tool analyzes of the following characteristics:
Parameter |
Explanation |
Unit of Measurement |
|---|---|---|
Flop |
Total number of floating-point operations required to infer a model. Summed up over known layers only. |
Number of operations |
Iop |
Total number of integer operations required to infer a model. Summed up over known layers only. |
Number of operations |
Total number of weights |
Total number of trainable network parameters excluding custom constants. Summed up over known layers only. |
Number of weights |
Minimum Memory Consumption |
Theoretical minimum of memory used by a network for inference given that the memory is reused as much as possible. Minimum Memory Consumption does not depend on weights. |
Number of activations |
Maximum Memory Consumption |
Theoretical maximum of memory used by a network for inference given that the memory is not reused, which means all internal feature maps are stored in the memory simultaneously. Maximum Memory Consumption does not depend on weights. |
Number of activations |
Sparsity |
Percentage of zero weights |
Percentage |
Model analysis data is collected when the model is imported. All parameters depend on the size of a batch. Currently, information is gathered on the default model batch.
To view analysis data, click Details next to the name of a model in the Model table on the Create Project page:

The details appear on the right:
