Intel® DevCloud for the Edge is a computing resource to develop, test, and run your workloads across a range of Intel® CPUs, GPUs, and Movidius™ Myriad™ Vision Processing Units (VPUs). Running the DL Workbench in the DevCloud helps you optimize your neural network and analyse its performance on various Intel® hardware configurations. DevCloud is available for enterprise developers, independent developers, students, and faculty members.
When running the DL Workbench in the DevCloud, you can use the following DL Workbench features:
| Feature | Supported |
|---|---|
| Single and group inference | Yes (HDDL plugin is not supported) |
| INT8 calibration | Yes |
| Winograd algorithmic tuning | No |
| Accuracy measurements | No |
| Model output visualization | Yes |
| Visualization of runtime and Intermediate Representation (IR) graph | Yes |
| Connecting to your remote machine** | No |
| Downloading models from the Intel Open Model Zoo | Yes |
| Deployment package creation | Yes |
** In the DevCloud, you are connecting only to remote machines that are available in it. You cannot work with your local workstation or connect to other machines in your local network.
NOTES:
- Profiling and calibration on DevCloud machines take more time than on a local machine due to the exchange of models, datasets, the job script, and performance data.
- Inference results may insignificantly vary for identical environment configurations. This happens because the same environment in the DevCloud does not mean the same physical machine.
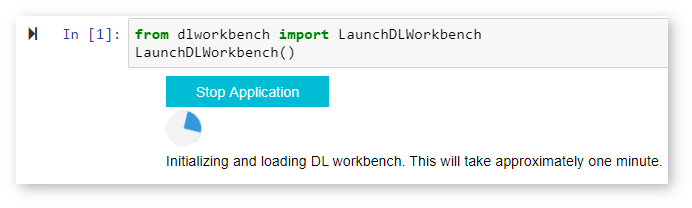
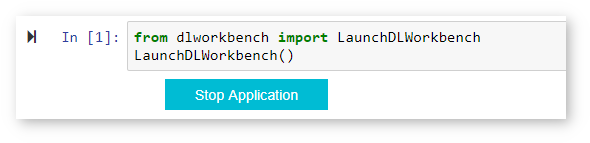
DLWorkbench_Launcher.ipynb opens. In the notebook, run the code cell. 

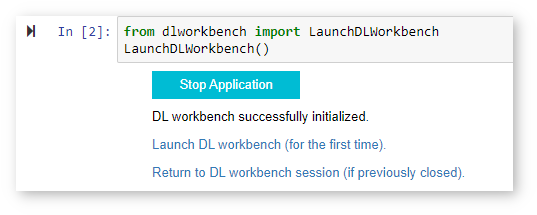
Click the first link. The DL Workbench opens: 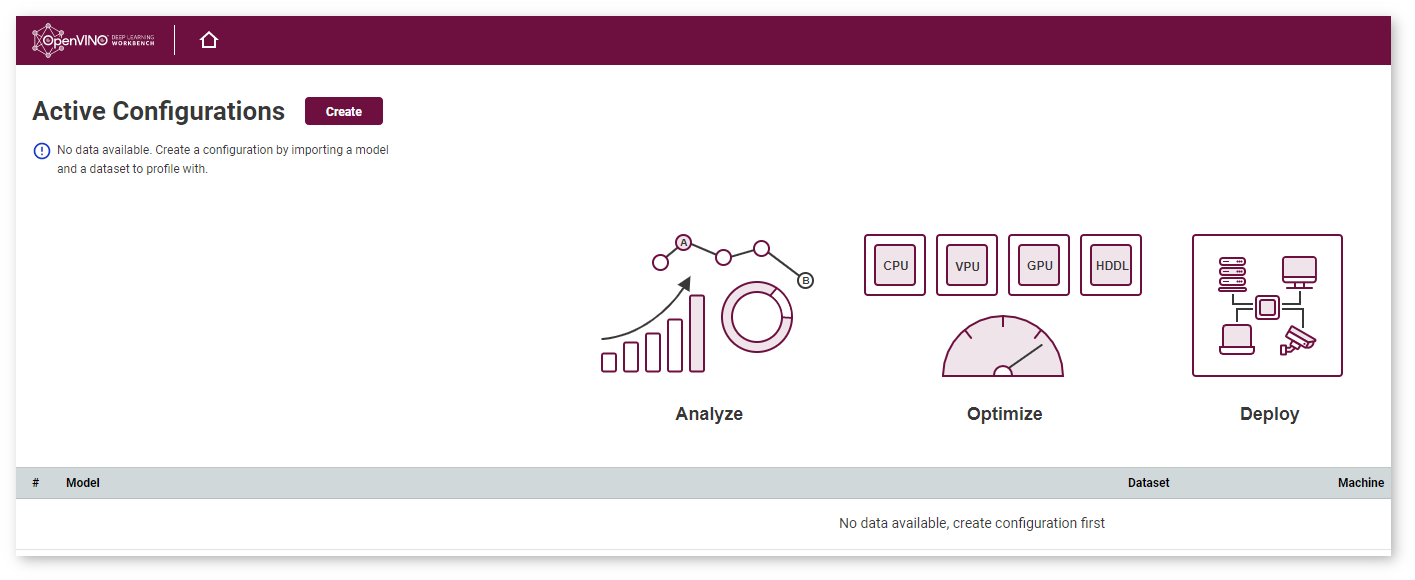
Congratulations, you have started the DL Workbench in the DevCloud. Now follow the general DL Workbench workflow to create a project:
Then run a baseline inference and proceed to the experiments listed below, then prepare the model for deployment:
A DL Workbench session in the DevCloud is limited to four hours. Remaining session time is indicated in the upper-right corner of the interface:

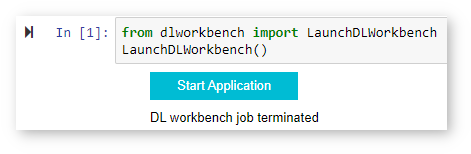
After four hours, the Docker container with the DL Workbench stops, but your data is autosaved in the DevCloud. To continue working with the DL Workbench, start a new session.
To start a new session, return to the Jupyter notebook.
Click the first link. The DL Workbench opens:
After optimizing your model in the DL Workbench, you can download it from the tool directly. There are two ways to do this:

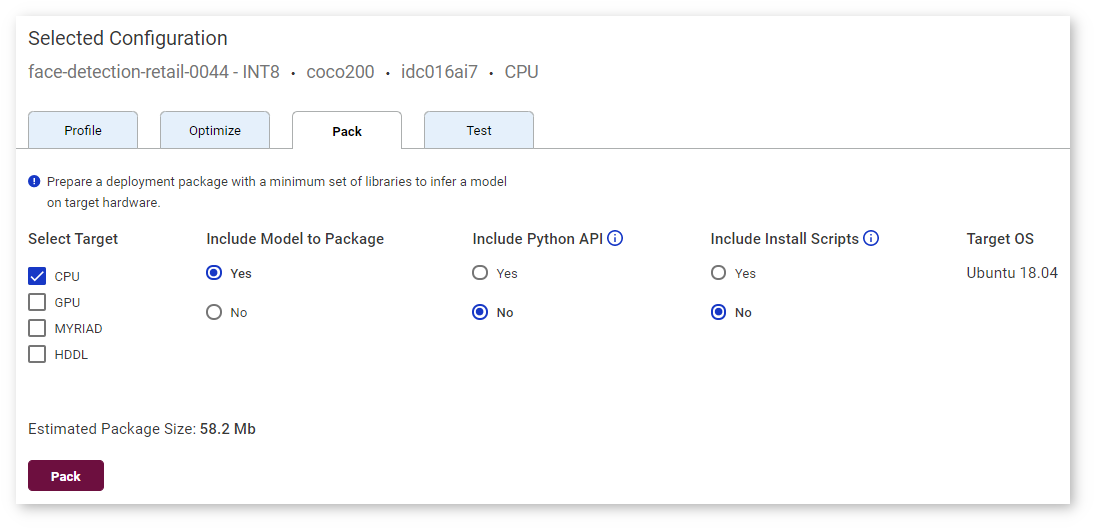
Then you can upload to the DevCloud filesystem like any other asset and integrate it into your application in the same Jupyter notebook.
