Database dump helps you restore data on your models, databases, and inferences when you start a new Docker* container. To get the current database state, access Settings in the upper-right corner of the interface and click Download Database:
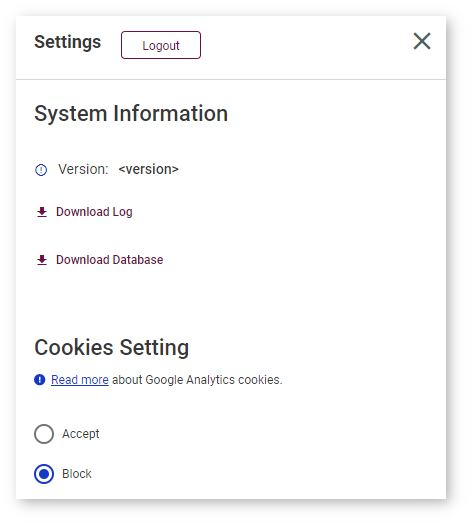
The database is downloaded as a workbench_db_dump_<timestamp>.tar.gz archive both to your Downloads folder and to a mounted folder, if any.
If you have not downloaded the dump in the previous session, only a clean start is available. Follow steps in the Installation Guide.
Restore Modes
Restore to Read-Only Status
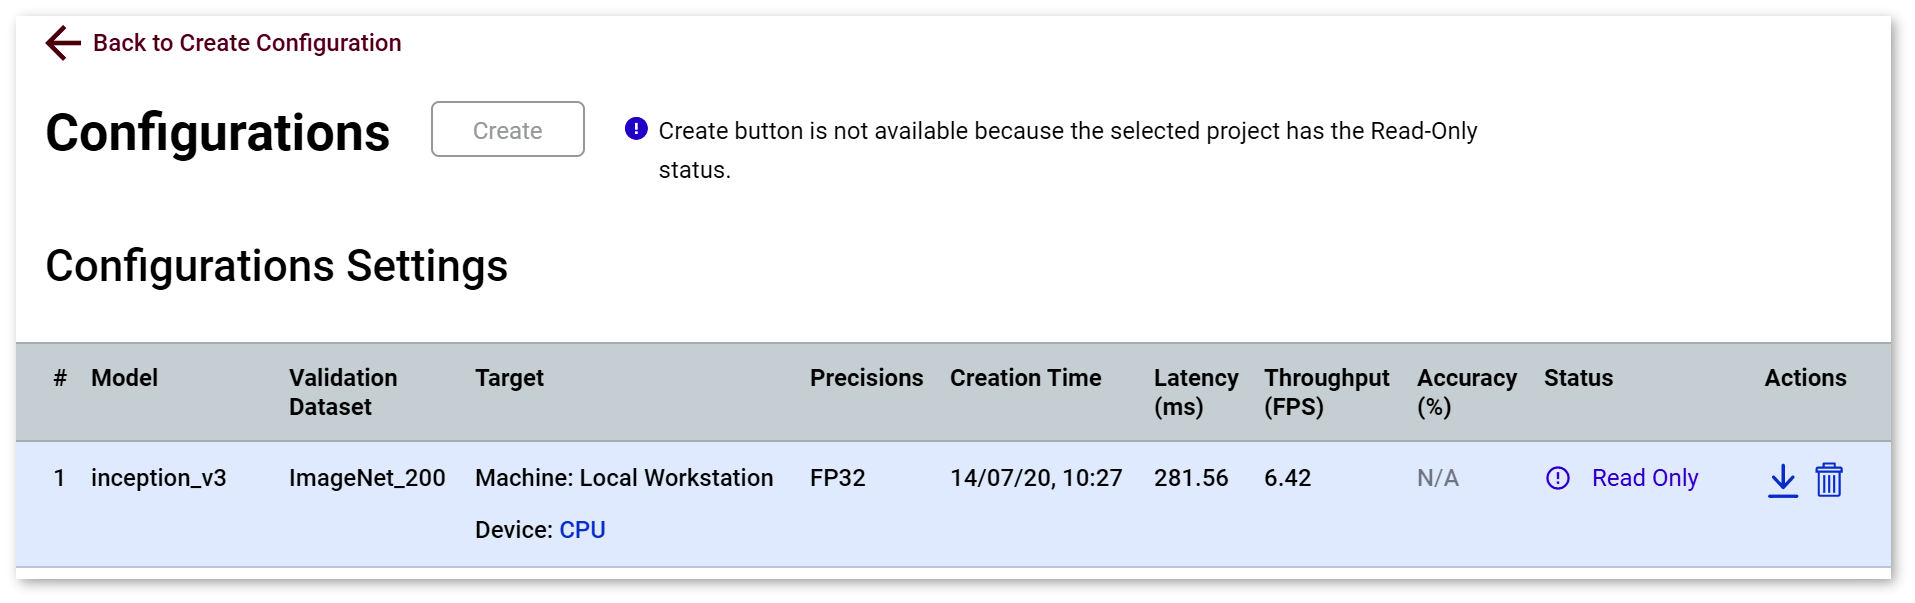
If you restore the DL Workbench state only with the database dump, the DL Workbench marks models, datasets, and projects as Read only.
Read-only artifacts on the Create Configuration page:

Read-only project on the Configurations page:
Full Restore
By default, models and datasets are saved to the /home/openvino/.workbench directory in the Docker* container. If you launch the DL Workbench Docker container with your local folder mounted to /home/openvino/.workbench, models and datasets are saved to your local folder as well.
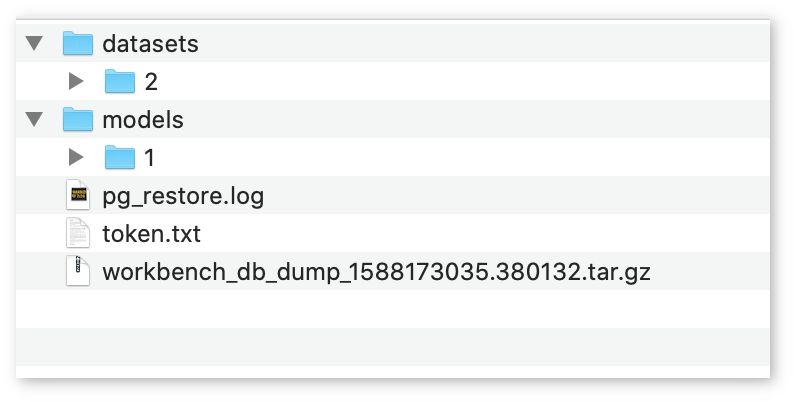
To restore the DL Workbench state with models and datasets, make sure you have them in your local folder that you will mount to the /home/openvino/.workbench directory in the Docker container when restoring the database state.
The structure of a mounted folder should look like this:
Restore Database State
To restore the database state, take the two steps when running the Docker image:
- Mount your local folder that contains the
workbench_db_dump.tar.gzarchive to the/home/openvino/.workbenchdirectory in the Docker container. - Provide the environmental variable
DATABASE_DUMP_FILE, which represents the dump file name.
The examples below show how to mount the local folder ~/.workbench or /C/workbench and provide the environmental variable DATABASE_DUMP_FILE while running a Docker container with the DL Workbench in the detached mode on CPU devices. To learn how to run the application on different targets or in a different mode, see Install DL Workbench from Docker Hub.
- Linux* OS:
- Get the
start_workbench.shscript as described in the Install DL Workbench from Docker Hub* on Linux* OS section of Install DL Workbench from Docker Hub. - Run the command below: ./start_workbench.sh -IMAGE_NAME openvino/workbench -DETACHED -ASSETS_DIR ~/.workbench -DB_DUMP_ARCHIVE workbench_db_dump_<timestamp>.tar.gz
- Get the
- macOS*: docker run -p 127.0.0.1:5665:5665 \--name workbench \--volume ~/.workbench:/home/openvino/.workbench \-e DATABASE_DUMP_FILE=workbench_db_dump_<timestamp>.tar.gz \-d openvino/workbench:latest
- Windows* OS: docker run -p 127.0.0.1:5665:5665 `--name workbench `--volume /C/workbench:/home/openvino/.workbench `-e DATABASE_DUMP_FILE=workbench_db_dump_<timestamp>.tar.gz `-d openvino/workbench:latest
NOTE: Replace
<timestamp>with the digits in the name of your dump file.
For details about other parameters, see the Parameter Explanation section of Install DL Workbench from Docker Hub.
The following pop-up message indicates the state is successfully restored:
